So, you’ve just gotten your hands on a coffee percolator and you’re eager to brew up a rich and flavorful cup of coffee. But wait, you’re not quite sure how to use it properly. Don’t worry, my friend, I’ve got you covered. In this article, we’ll delve into the world of coffee percolators and walk you through the step-by-step process of using one to make that perfect cup of joe. From assembling the percolator to selecting the right coffee grounds, let’s embark on this coffee adventure together and unlock the secrets of brewing with a coffee percolator!
Preparing the Percolator
Before you can start brewing delicious coffee with your percolator, you need to ensure it is properly prepared. Here are the steps you should follow:
Choose the right percolator
The first step in preparing your percolator is to choose the right one for your needs. Percolators come in different sizes and styles, so consider how much coffee you typically brew and whether you prefer a stovetop or electric percolator. Make sure to select one that fits your brewing preferences.
Gather the necessary equipment
To prepare your percolator, gather all the necessary equipment beforehand. You will need a percolator, coffee grounds, water, a heat source, measuring spoons, and cups or a carafe for serving. Having everything on hand will make the brewing process smoother and more enjoyable.
Clean the percolator before use
Before brewing your coffee, it’s crucial to clean your percolator thoroughly. Even if it’s brand new, a quick rinse will ensure that any impurities from manufacturing are removed. If you’re using an older percolator, a thorough cleaning will remove any coffee residue or oils that may affect the taste of your brew. Refer to the manufacturer’s instructions for specific cleaning guidelines.
Measuring and Adding Coffee
Now that your percolator is ready, it’s time to measure and add the coffee grounds. Follow these steps for a perfectly brewed cup of coffee:
Determine the coffee-to-water ratio
To achieve the ideal coffee strength, it’s vital to determine the coffee-to-water ratio that suits your taste. As a general guideline, a ratio of 1 tablespoon of coffee grounds per 6 ounces of water is a good starting point. Adjust this ratio based on your personal preference.
Measure the coffee grounds
Using a measuring spoon, carefully measure the desired amount of coffee grounds according to the determined coffee-to-water ratio. If you prefer a stronger brew, you can slightly increase the amount of coffee grounds.
Add the coffee to the percolator
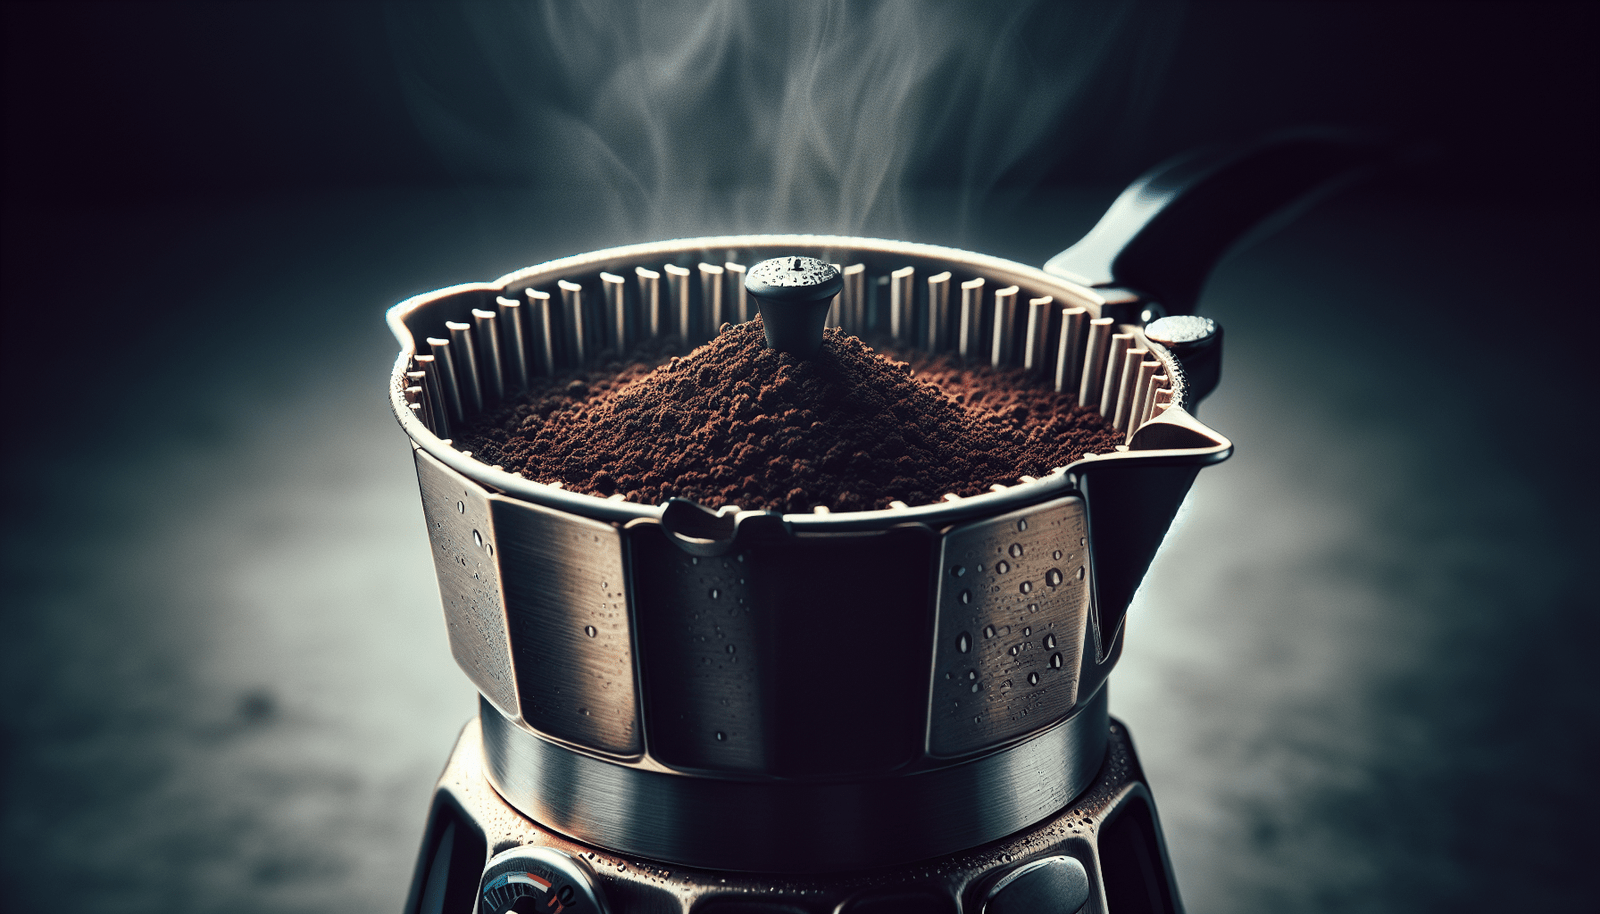
Once the coffee grounds are measured, add them to the percolator’s basket. Spread the grounds evenly to ensure even extraction during the brewing process. Avoid overfilling the basket to prevent clogging and ensure proper circulation of water.
Adding Water
The next step in brewing coffee with a percolator is adding the right amount of water. Follow these guidelines:
Measure the water
Using a measuring cup or the percolator’s markings, measure the appropriate amount of water based on the number of cups you are brewing. Pay attention to the percolator’s maximum fill line to avoid any overflow during brewing.
Fill the percolator with water
Carefully pour the measured water into the percolator, ensuring that the water level does not exceed the maximum fill line. Be cautious not to splash water onto the coffee grounds in the basket.
Assembling the Percolator
With the coffee and water in place, it’s time to assemble your percolator for brewing:
Attach the stem and basket
Take the stem, which is connected to the percolator lid, and insert it into the designated hole at the bottom of the percolator. Ensure a secure fit. Then, place the basket onto the stem, making sure it is properly aligned.
Place the basket inside the percolator
Lower the assembled stem and basket into the percolator. The basket should fit snugly, allowing water to circulate through the coffee grounds during the brewing process. Double-check that all components are securely in place before proceeding.
Brewing Process
Now that your percolator is assembled, it’s time to start the brewing process:
Place the percolator on a heat source
Depending on whether you’re using a stovetop or electric percolator, position it on the appropriate heat source. If using a stovetop percolator, place it on a burner and adjust the heat to medium. For an electric percolator, plug it into a power source.
Monitor the brewing process
As the water heats up inside the percolator, keep a close eye on the brewing process. You should see the water gradually rise through the stem and disperse over the coffee grounds in the basket. It’s important to monitor the brewing to ensure that you achieve your desired coffee strength.
Control the brewing time
The brewing time plays a significant role in determining the strength of your coffee. As a general rule, a brewing time of 7-10 minutes will result in a mild coffee, while 10-15 minutes will yield a stronger brew. Experiment with different brewing times to find your preferred taste.
Adjusting the Strength
Achieving the perfect strength of coffee can be personalized to your liking. Here are some guidelines to consider:
Brewing time for strong coffee
If you prefer a stronger cup of coffee, increase the brewing time slightly. Extend the brewing process by 1-2 minutes to extract more flavor and intensity from the coffee grounds. Be mindful not to exceed the recommended brewing time to avoid over-extraction and bitterness.
Brewing time for mild coffee
For a milder cup of coffee, you can reduce the brewing time. Shorten the brewing process by 1-2 minutes, allowing less time for extraction. This will result in a smoother and lighter taste profile.
Experimenting with brewing time
One of the joys of using a percolator is the ability to experiment with different brewing times to achieve your preferred coffee strength. Consider starting with the recommended brewing times and gradually adjusting the duration based on your taste preferences. Keep notes of the brewing times and corresponding flavors to refine your process over time.
Removing the Percolator from Heat
Once the brewing process is complete, it’s crucial to properly remove the percolator from the heat source:
Turn off the heat source
If using a stovetop percolator, remember to turn off the burner or remove the percolator from direct heat. For electric percolators, switch off the power source.
Let the percolator cool down
After removing the percolator from the heat, allow it to cool down before proceeding to serve the coffee. Give it a few minutes to ensure it is safe to handle and to allow the flavors to settle within the brewed coffee.
Serving the Coffee
Now that your coffee is ready, it’s time to serve and enjoy it:
Remove the stem and basket
Carefully lift the stem and basket out of the percolator. Set them aside in a safe place. Be cautious as the components may still be hot.
Pour coffee into cups or a carafe
Using a steady hand, slowly pour the freshly brewed coffee into your cups or a carafe. Take care not to spill or overflow.
Serve and enjoy!
Finally, it’s time to savor the delicious aroma and taste of your brewed coffee. Serve it hot and accompany it with your favorite breakfast delights or simply enjoy it on its own. Take a moment to appreciate the rich flavors you have brewed with your percolator.
Cleaning and Maintenance
To ensure your percolator continues to brew delicious coffee, proper cleaning and maintenance are essential:
Allow the percolator to cool completely
After serving the coffee, allow the percolator to cool down completely before attempting to clean it. This will prevent any burns or accidents during the cleaning process.
Empty and discard the coffee grounds
Once cool, carefully remove the stem and basket from the percolator. Dispose of the used coffee grounds in a compost bin or trash. Rinse the basket and stem with warm water to remove any remaining residue.
Clean the percolator thoroughly
After disposing of the coffee grounds, clean the percolator thoroughly. Use warm soapy water and a gentle brush or sponge to scrub the interior and exterior surfaces. Pay special attention to the basket, stem, and lid. Rinse the percolator with clean water and let it air dry before storing it.
Common Issues and Troubleshooting
Despite following the brewing process, you may encounter some issues while using a coffee percolator. Here are some common problems and potential solutions:
Coffee tastes weak or watery
If your coffee tastes weak or watery, you may need to adjust the coffee-to-water ratio. Increase the amount of coffee grounds slightly or decrease the amount of water used. Experiment with different ratios to find the combination that suits your taste preferences.
Coffee tastes too strong or bitter
If your coffee tastes too strong or bitter, you may have brewed it for too long. Consider reducing the brewing time for future batches. Additionally, using a coarser coffee grind may help reduce the extraction and bitterness.
Percolator is not brewing properly
If your percolator is not brewing properly, ensure that all components are properly assembled and securely in place. Check for any clogs or blockages in the stem, basket, or lid. If the issue persists, consult the manufacturer’s instructions or seek professional advice.
Using a coffee percolator allows you to enjoy the rich and robust flavors of freshly brewed coffee. By following these steps and paying attention to the details, you’ll be able to make a delicious cup of coffee that satisfies your taste buds. With a well-prepared percolator, precise measurement of coffee and water, and careful control of the brewing process, you’ll have the perfect cup of coffee to start your day or enjoy a relaxing moment. Cheers!


